Table of Contents
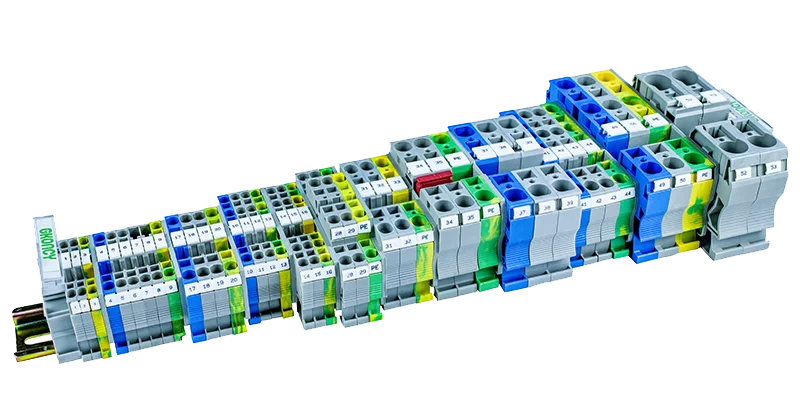
Terminal blocks are a crucial component in electrical installations, serving as connection points for various electrical wires. When it comes to mounting and connecting terminal blocks, it is important to follow proper procedures to ensure a secure attachment and efficient wiring management. One commonly used method for mounting terminal blocks is through the use of DIN rails.
Step 1: Selecting the Right DIN Rail
Before you begin the installation process, it is crucial to choose the appropriate DIN rail for your terminal blocks. DIN rails come in various sizes and materials, such as steel or aluminum. Consider the number and size of terminal blocks you intend to install, and choose a DIN rail that can accommodate them securely.
Step 2: Marking the Mounting Points
To ensure a clean and organized installation, start by marking the positions where the terminal blocks will be mounted on the DIN rail. Use a measuring tape to determine the appropriate spacing between the terminal blocks, considering factors such as available space and wire routing requirements. Leaving sufficient gaps between the blocks allows for easier access and maintenance.
Step 3: Attaching the DIN Rail
Now it’s time to attach the DIN rail to the mounting surface. Ensure that the chosen surface is sturdy and capable of supporting the weight of the terminal blocks and wiring. You can use screws, bolts, or clips to securely fasten the DIN rail in place. Take care to align the DIN rail properly, ensuring that it is level and straight, which will facilitate the correct alignment of the terminal blocks.
Step 4: Installing the Terminal Blocks
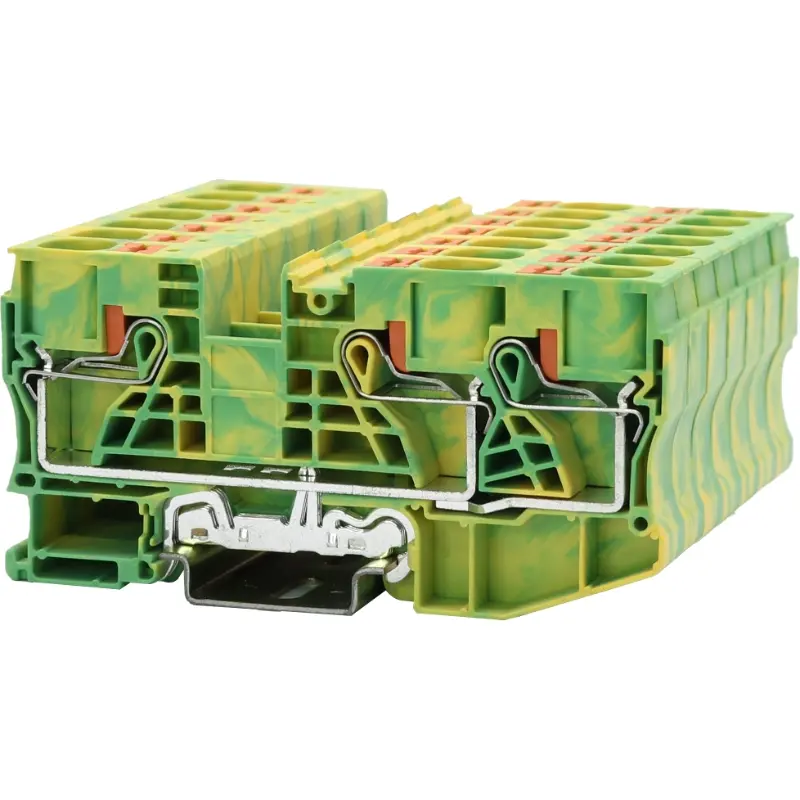
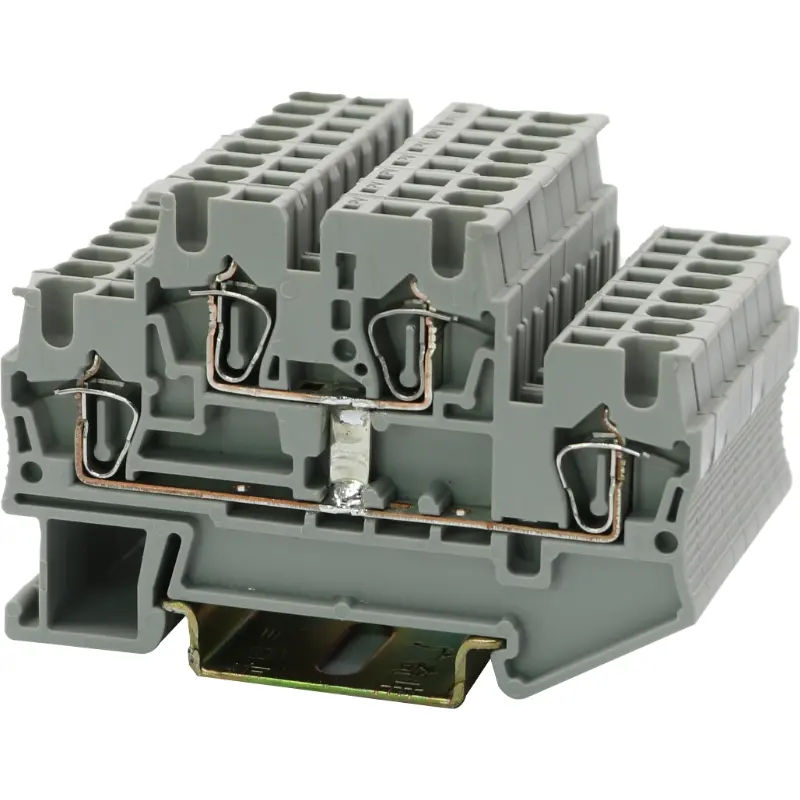
With the DIN rail securely attached, it’s time to install the terminal blocks. Begin by selecting the appropriate terminal block for your specific application. Terminal blocks come in various types, such as feed-through, ground, or fused terminal blocks. Choosing the right type based on your wiring requirements is essential for a successful installation.
To install the terminal blocks, slide them onto the DIN rail, aligning them with the marked mounting points. Ensure that each terminal block fits snugly into place without any wobbling. If necessary, you can use mounting clips or screws provided with the terminal blocks to secure them further. This extra step provides added stability and prevents unintended movement.
Step 5: Making Wiring Connections
Once the terminal blocks are securely mounted, it’s time to make the wiring connections. Begin by properly stripping the insulation from the cables to expose the conductors. Ensure that the stripped length is appropriate for the terminal block’s clamping mechanism, as this will ensure a reliable and secure connection.
Next, insert the stripped ends of the wires into the designated terminal openings on the terminal blocks. Take care to verify that each wire is correctly inserted and making proper contact with the conductor inside the terminal block. Once inserted, tighten the clamping mechanism using a screwdriver or appropriate tool to secure the connection. Be sure not to overtighten, as this can damage the conductor or cause other issues.
Step 6: Organizing and Managing Wires
Efficient wiring management is crucial for maintaining a tidy and organized electrical installation. After completing the wiring connections, it’s important to route and manage the wires properly along the DIN rail. This step reduces the risk of tangling, minimizes strain on the connections, and facilitates troubleshooting and maintenance in the future.
Consider using cable ties, wire ducts, or cable clips to secure and guide the wires along the DIN rail. These solutions help to keep the wires neatly organized and prevent them from obstructing other components or becoming tangled. By ensuring a well-organized wiring system, you can save time during maintenance and troubleshooting processes.
Step 7: Testing and Final Checks
After completing the wiring connections and managing the wires, it’s time to test the newly installed terminal blocks. Take the time to carefully inspect each connection for any signs of loose wires or poor contact. Verify the integrity of the connections using appropriate testing equipment to ensure proper electrical continuity.
Double-check the alignment and tightness of the terminal blocks on the DIN rail. Ensure that the terminal blocks are securely attached without any movement or vibration. This final step ensures that your installation is reliable and ready for use.
Conclusion
Properly mounting and connecting terminal blocks on a DIN rail is essential for maintaining a secure and efficient electrical installation. By following the step-by-step instructions outlined in this article, you can ensure a reliable and organized wiring system. Remember to refer to the manufacturer’s guidelines and adhere to local electrical codes and regulations when working with terminal blocks and electrical installations. By doing so, you will achieve a safe and efficient electrical connection that meets your requirements. Should any doubts or questions arise during the installation process, don’t hesitate to consult with a qualified electrician. Happy installing!
Looking for reliable DIN rail mounted terminal blocks? Check out our wide range of products at https://www.gkoncy.com/.